This guide will explain more on the basics of opposition instructions in Football Manager.
Opposition instructions are a powerful tool to counter the threat of your opposition in Football Manager. The instructions you give before a game will act as an extension to the player instructions you have set in your own tactics. There are different ways to set the opposition instructions and in this guide we will explain what they do and different ways to set them.
Although setting opposition instructions could be a good way to take out any of your opponent’s star players, it could also create a flaw in your own tactics. Before you think about setting opposition instructions, make sure your players are able to follow the instructions you would like to set.
For example, if you want your team to go in hard on a specific player, make sure any of your players playing in that area are able to tackle well. If this is not the case, you could be committing a lot of unnecessary fouls and picking up a lot of cards.
You should also make sure not to set too many opposition instructions. That way, you prevent players from moving far out of position, creating gaps and space for your opponent to exploit. If you were to win back the ball, your players would then be out of position and not able to properly follow team/player instructions, which will cause your tactic to fail.
Types of opposition instructions
There are two types of opposition instructions:
Player opposition instructions
These are used if you want to mark or cover a specific player, for example a star player of your opponent.
Positional opposition instructions
These are used if you want to mark or cover a specific position, regardless of the player in that position.
IMPORTANT:
- Specific Player Instructions will always override Positional Instructions.
- You should set the positional instructions as a guideline.
You can then use specific player instructions to target a specific player.
Tight Marking
This will instruct your players to mark even closer while marking a player.
Always
Use this instruction against players who love to work with open space. For example, midfielders who play in a Playmaker role or Attackers that are proven goal scorers. You don’t want to give these players too much space, so mark them closely at all times.
Never
Set the marking to never if you encounter a player that has much more speed than the player you have defending him. Marking him too closely will result in the faster player having more space to run into. It’s better to leave these players some space in front of your defender, so the defender has a bit of a head-start if the attacker decides to run.
Also it could be useful for an opposition that has poor creativity, technique or ball control. Not marking a specific player could force your opponent to give him the ball, as he is the only one with enough free space. That way you can force your opponent into making poor decisions.
Closing down
This will instruct your players to close down opponents as they receive the ball.
Always
Closing down a player who is nervous can be very effective. You will put him under pressure, forcing him to make a choice. The immediate pressure will force the nervous player to make a panicked decision, which will often be a poor one. Look for players with player traits like Dwells on Ball or Stops Play. By putting these players under pressure you could force them to make a bad choice.
If you’re facing a lone striker with little support from his fellow teammates, put him under pressure. He won’t be able to keep the ball or pass it due to the lack of support.
Last but not least, look to close down players with poor technical attributes like Creativity, Passing, Decisions, First Touch and Composure. Putting them under pressure can force them into mistakes.
Never
Could be useful if an opposition player is a Speedy Dribbler, but a poor decision maker. The player may freeze up with the space you give him, not knowing what to do with such a lack of pressure.
It may also be useful to never close down a poor player if they are surrounded by more dangerous players in other positions. That way you can instruct your players to concentrate more on the higher quality players instead of the poor player. This may force the poor player to be the only passing option for the higher quality players. Once he receives the ball, he will have a higher chance of making a mistake which may gift you possession of the ball.
Tackling
This will determine how aggressively you want an opponent to be tackled when in possession.
Hard
Could be useful to ‘scare’ an opponent. Look for players with low Aggression, Bravery, Composure, Determination and Work Rate.
It may also work against a player that is a good passer or crosser, but lacks mobility. By going in hard on him, you can neutralize him by exploiting his flaws.
Tired players or players that have picked up a knock are also good choices. It’s a bit mean, but tired players have an increased likelihood to get injured, whilst a player that has a knock could be forced out of the game by a hard tackle.
Easy
Could be effective against a player that has better mobility or Dribbling ability than the player you have covering him. Going in too hard could result in fouls and cards, so it is better to be a bit more careful when tackling these sorts of players.
Normal
If you want to alter the tackling instructions for your entire team for a specific player. For example, when using the Get Stuck In team instruction, your players will tackle harder in general. By adding the Normal (or Easy) instruction you will alter that for a specific player or position.
Show onto foot
This will instruct your players to force their opponent onto a specific side. Ideally you would like the player to be forced onto his weaker foot.
Left foot/ right foot
This can be useful if an opponent’s Strong Foot is Left Only or Right Only. That way you can force a player to move onto his weaker foot, making him less effective. But you can also use this to force a player to the outside or inside of the pitch. A left footed left winger might be less effective on the outside as he will be restricted to attempting a cross or passing the ball backwards. But be careful doing this; your central defenders need to be capable of dealing with the crosses.
Weaker foot
This can be useful for players who are in the center of the pitch (a midfielder or striker). But be careful of players who can shoot/pass with both feet.
This can also prove to be useful against wide players who play on the side of their stronger foot, if you’re playing a team whose striker has better aerial abilities than your defenders. That way you can limit the amount of crosses towards their striker, making the wide player less effective.
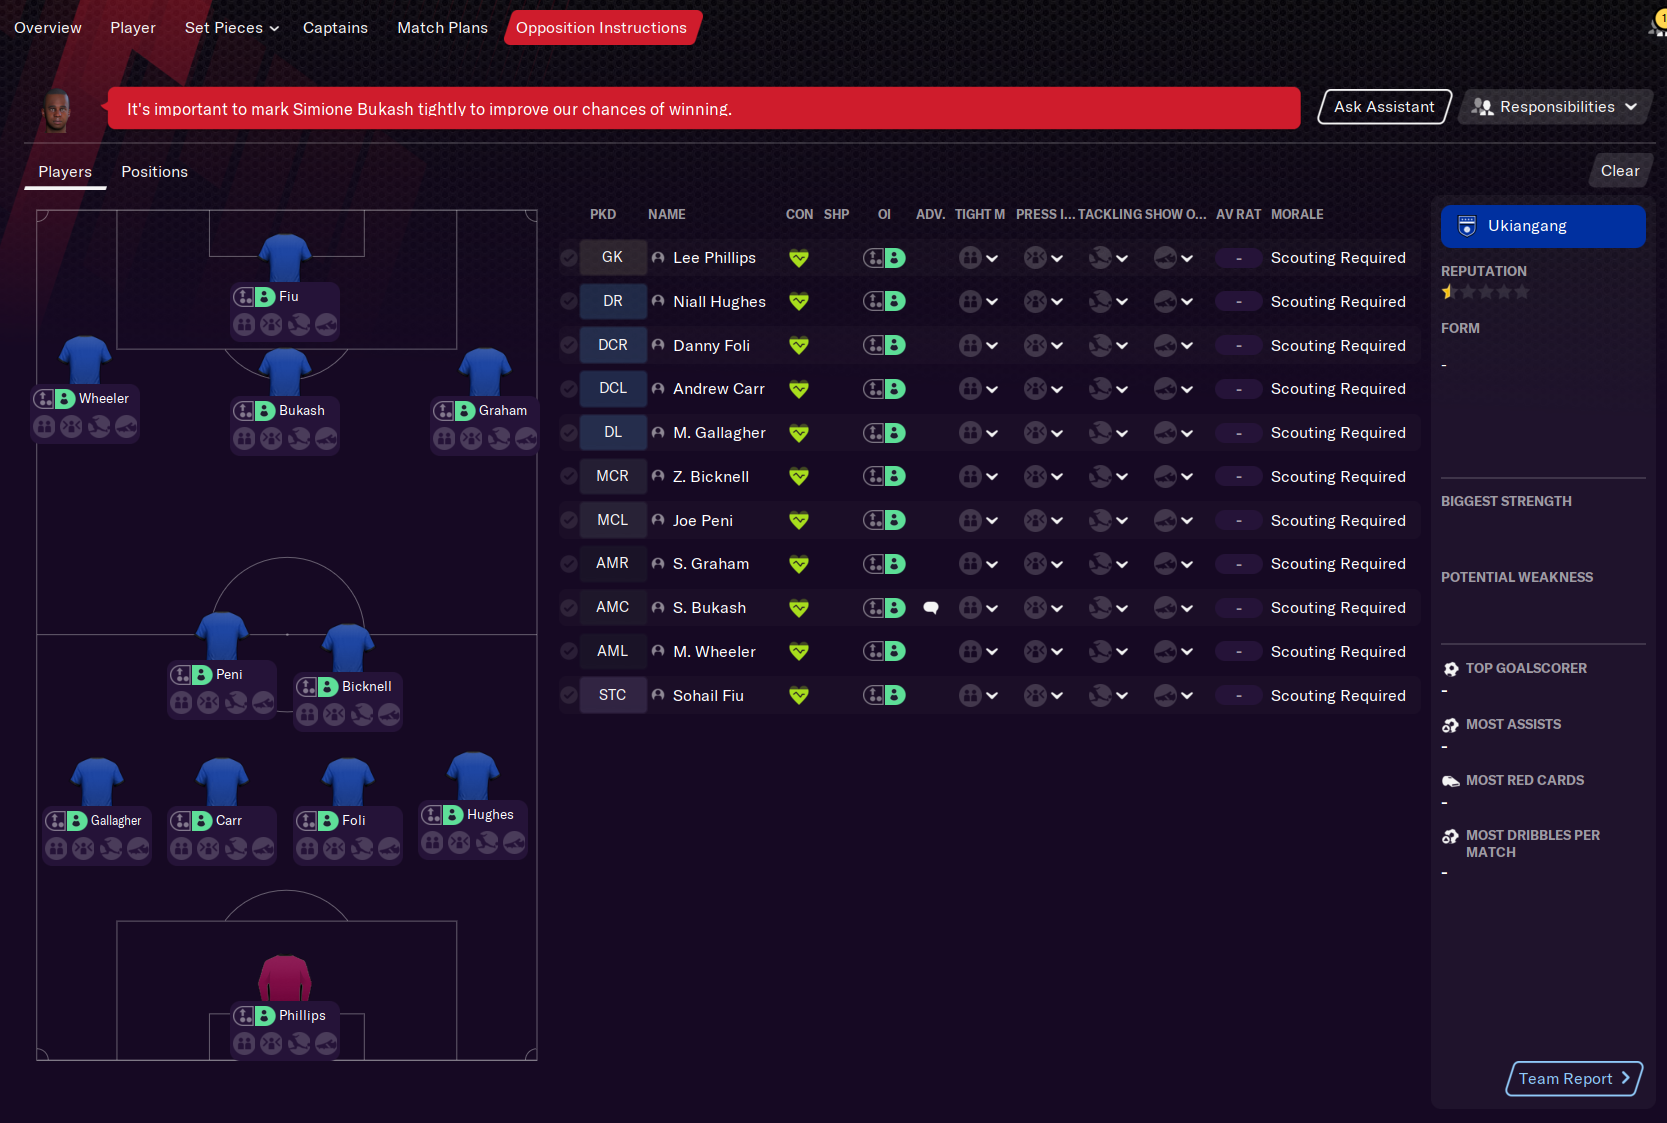
Setting instructions
Before every game you play you have the option to set the opposition instructions for that game.
Pre-game
You can either check all the opposition players manually and set the instructions or you can ask your backroom staff to set them. Who you pick is up to you. There is a drop down menu from which you can pick the coach. If you use this, make sure the coach/assistant has high Tactical Knowledge and Judging Ability.
Automatically
You can also set the opposition instructions automatically, by using the backroom staff responsibilities and assigning this category to a coach or your assistant manager. As before, the coach/assistant needs high Tactical Knowledge and Judging Ability.
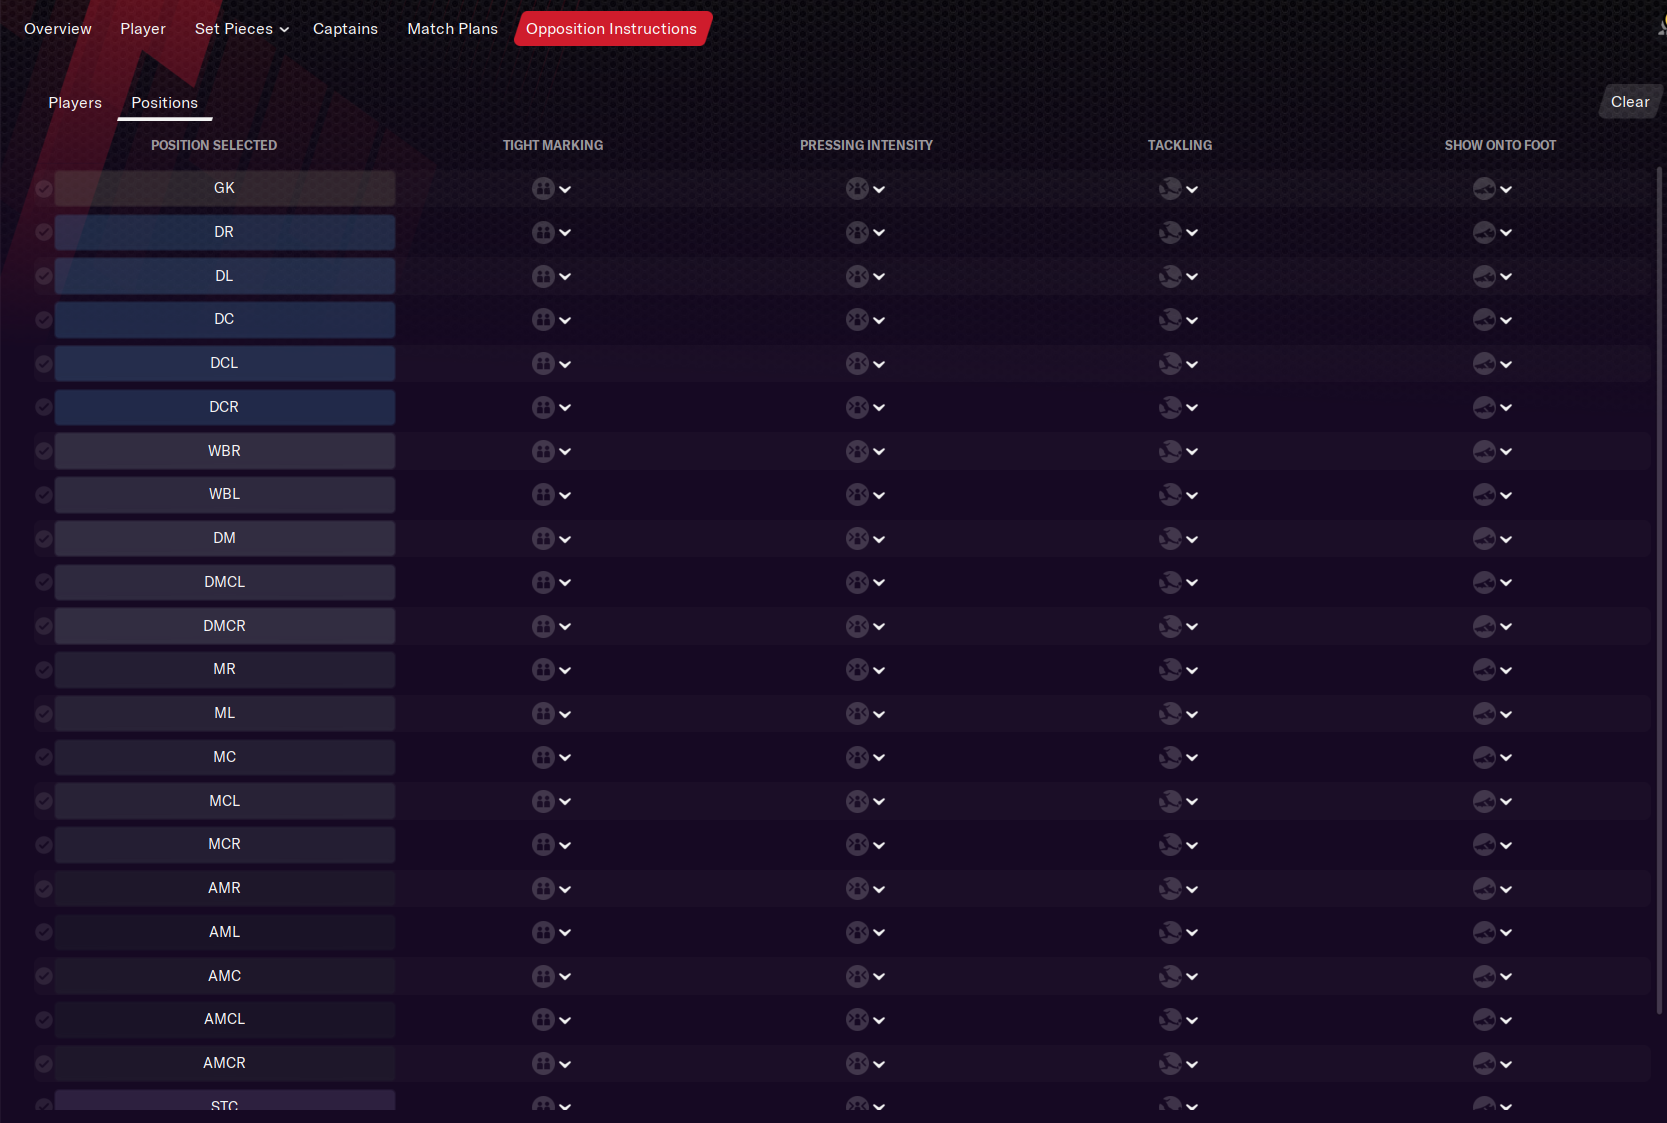
Standard instructions
The final option available is the standard opposition instruction (see screenshot above). Look for the Opposition Instructions tab in your tactics screen and click on the 'position's tab. There you will find a pitch with all the possible positions available. Here you can set standard positional opposition instructions.
For example; you always want to put pressure on the opponents Central Defenders or you always want to tackle the opponents striker hard. This is the are where you can instruct your players to always do that.
This is a handy option, as this allows you to set instructions for almost every formation, without losing the effect. For example; add Show onto weaker foot instructions for both DR and WBR and your players will always force them onto their weaker foot, regardless of the formation your opponent will pick.